

What you will learn
- What validation proves and what it deliberately does not
- The four validation techniques and when each is appropriate
- A step-by-step validation workflow you can run this month
- How to structure and store validation evidence
- How validation results should change the remediation queue
- Safety controls for testing in production environments
Explanation
Why validation exists
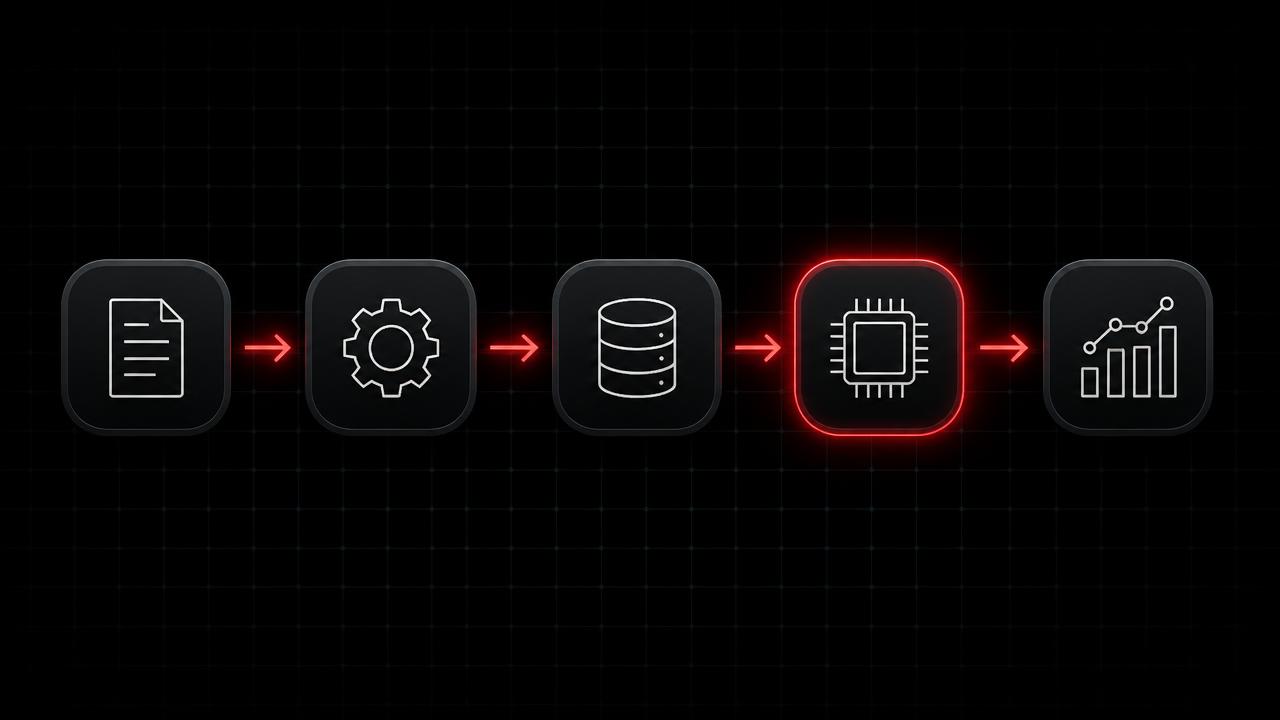
Prioritization produces an opinion. Validation produces a fact. Without validation a security team is asking engineering to accept downtime and effort based on a score, and engineering teams have learned to discount scores. With validation the conversation changes shape entirely: here is the specific path, here is the evidence it worked, here is what it reached. Remediation velocity rises because the argument is no longer contestable.
Validation also works in the other direction, which teams often underestimate. Proving that a control blocks an exposure removes work from the queue and justifies the control investment. A programme that only proves bad news exhausts its stakeholders.
What validation proves
| Question | Validated answer | Effect on the queue |
|---|---|---|
| Is the exposure reachable? | Yes, from the internet without credentials | Escalate to top tier |
| Do controls block it? | Yes, endpoint control terminated the technique | Downgrade and record control evidence |
| What does it reach? | A database holding regulated data | Escalate and notify data owner |
| Can it be chained? | Yes, to a domain administrative identity | Treat as a critical attack path |
| Did the fix work? | Test no longer succeeds after the change | Close with proof |
The four validation techniques
Techniques are not interchangeable. Choosing badly wastes budget and generates results the team cannot act on.
| Technique | Best for | Limitation |
|---|---|---|
| Breach and attack simulation | Continuous control effectiveness testing at scale | Simulates rather than fully exploits |
| Automated penetration testing | Proving reachability and chaining across many assets | Requires careful safety configuration |
| Attack path analysis | Identity and cloud entitlement chains | Model based, so accuracy depends on data quality |
| Manual penetration testing and red teaming | Business logic, novel chains, high value scenarios | Expensive and point in time |
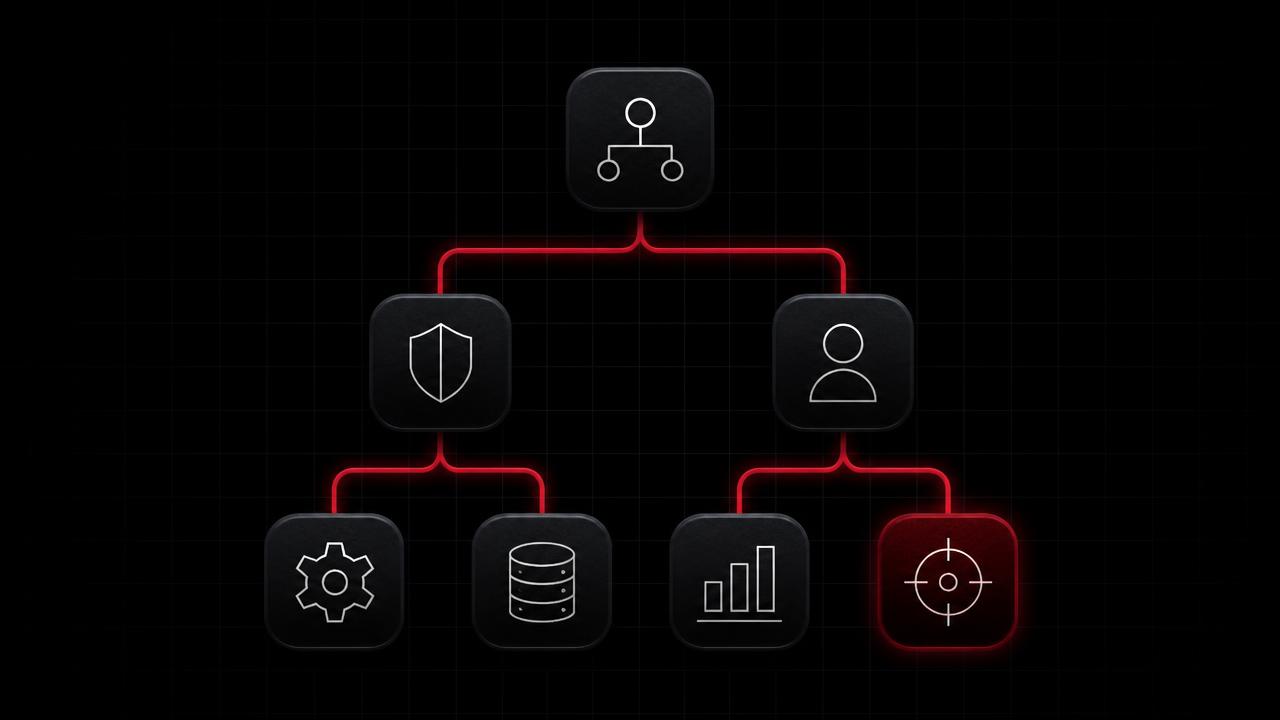
A mature programme uses all four in a layered way: attack path analysis to find candidate chains cheaply, automated testing to confirm the common ones continuously, breach and attack simulation to keep detection and prevention honest, and manual testing reserved for the scenarios automation cannot reason about.
A validation workflow you can run this month
- 1Take the top twenty exposures from the prioritized queue. Do not attempt to validate the whole register.
- 2For each one, write a single testable hypothesis, for example an unauthenticated user on the internet can read the reporting database via this host.
- 3Choose the technique that matches the hypothesis and confirm the safety constraints with the asset owner.
- 4Execute the test in a change controlled window, capturing timestamps, commands or simulation identifiers and outputs.
- 5Record the result as exploitable, blocked by a named control, or inconclusive, and attach the evidence artefact.
- 6Update the queue: escalate exploitable items, downgrade blocked items with a note, and schedule inconclusive items for a better test.
- 7After remediation, rerun the identical test and store the negative result as closure evidence.
What good evidence looks like
Evidence has to satisfy three different audiences: the engineer who must act, the risk owner who must accept or fund, and the auditor who will ask next year. A consistent evidence record satisfies all three.
- The hypothesis tested, written in one sentence.
- The asset, its owner and the business process it supports.
- The technique, tooling and the exact time window of the test.
- The observed outcome, including what was reached and what was not.
- The controls that engaged or failed to engage, named individually.
- The retest result and date after remediation.
Testing safely in production
Most exposures worth validating live in production, so a safety model is mandatory rather than optional. The guiding principle is that validation must never become the incident it is trying to prevent.
| Risk | Control |
|---|---|
| Service disruption | Read only or non destructive test modes, agreed change windows, immediate abort criteria |
| Data exposure during testing | Prove access without extracting records, capture metadata not content |
| False incident response activation | Notify the detection team with test identifiers before execution |
| Scope creep | Written test boundary approved by the asset owner |
| Credential misuse | Dedicated, time limited testing identities that are revoked afterwards |
How validation changes prioritisation
Validation results must flow back into the ranking, otherwise the queue stays theoretical. A simple, defensible rule set works well.
| Validation result | Queue action | Reporting treatment |
|---|---|---|
| Exploitable and reaches a crown jewel | Top tier, shortest SLA | Reported as a validated critical exposure |
| Exploitable but no valuable target reached | Second tier | Reported as a validated exposure |
| Blocked by a named control | Downgraded with evidence | Reported as control effectiveness proof |
| Inconclusive | Held for a better test, not silently closed | Reported as a coverage gap |
How this fits the CTEM lifecycle
Validation sits between prioritization and mobilization and it is the stage most often skipped. Skipping it does not save time, it moves the cost downstream, because engineering teams then negotiate every ticket. Programmes that add validation typically see remediation times fall even though the queue itself gets shorter, because the remaining items are undeniable.
How to measure success
| Metric | Definition | Healthy direction |
|---|---|---|
| Validation coverage | Share of top tier exposures with a recorded result | Rising above 80 percent |
| Exploitable rate | Proportion of tested exposures proven exploitable | Falling as controls improve |
| Control effectiveness rate | Proportion blocked by a named control | Rising |
| Inconclusive rate | Proportion where the test could not decide | Falling below 10 percent |
| Retest closure rate | Share of fixes confirmed by a rerun test | Approaching full coverage |
| Time from validation to fix | Median days for validated exposures | Falling |
Common mistakes to avoid
The dominant failure is attempting to validate everything, which collapses the stage under its own weight within a month. The second is treating a simulation score as proof without recording what was actually observed. The third is never retesting after remediation, which leaves closure resting on the same assumption validation was created to remove.
How to apply this
- Select the top twenty exposures and write one testable hypothesis for each.
- Match a validation technique to each hypothesis rather than defaulting to one tool.
- Agree a written safety model with asset owners before testing in production.
- Record every result as exploitable, blocked or inconclusive with an evidence artefact.
- Feed results back into the queue so blocked items visibly drop in priority.
- Rerun the identical test after remediation and store the negative result as closure proof.
Common mistakes
- Trying to validate the entire exposure register instead of the top tier.
- Accepting a risk score as evidence of exploitability.
- Testing without an agreed safety boundary or abort criteria.
- Recording only successful exploitation and discarding blocked results.
- Leaving inconclusive tests unresolved so coverage gaps stay hidden.
- Closing remediation tickets without a retest.
Frequently asked questions
Related pages
CTEM Validate Stage
CTEM Validate Stage: Prove Exposures Are Real
How to run the Validate stage of CTEM: prove reachability and exploitability, test control effectiveness, and record evidence that drives fixes.
CTEM vs Breach and Attack Simulation
CTEM vs Breach and Attack Simulation: One Validation Method
Breach and attack simulation is one way to validate exposures. CTEM is broader and includes scoping, discovery, prioritization, mobilization, and reporting.
CTEM vs Pen Testing and Red Teaming
CTEM vs Penetration Testing and Red Teaming: Program vs Test
Understand why penetration testing and red teaming are validation activities and how CTEM uses them inside a continuous exposure program.
Complete CTEM Guide 2026
Complete CTEM Guide 2026: Framework and Lifecycle
A complete CTEM guide for 2026: the framework, five lifecycle stages, worked examples, tool categories, metrics and a practical rollout sequence.
Practitioner CTEM Proving Ground Lab
Practitioner CTEM Proving Ground Lab: Free, Assessed
A free assessed Practitioner CTEM lab across six graded stages. Scope, attribute, map attack paths, prioritize, plan validation, and mobilize owners across cloud, identity, OT, and third party attack surface.
CTEM Practitioner Certification
CTEM Practitioner Certification: For Analysts and Consultants
The free CTEM Practitioner certification with a scenario exam, exposure register lab, prioritization worksheet, and validation exercise.
Earn your free CTEM certification.
Ready to prove your CTEM knowledge? Start with the free LearnCTEM Beginner Certification, continue with the Practitioner Certification, and build toward Program Leader. Every LearnCTEM certificate is free, vendor-neutral, and publicly verifiable at LearnCTEM.com.
Beginner / Practitioner / Program Leader
Explore certificationsAuthor
LearnCTEM Editorial Team
Practitioners and educators writing plain-English guides on Continuous Threat Exposure Management.
Reviewed by
Senior CTEM Practitioner Panel
Reviewed for accuracy against public CTEM guidance and real-world program experience.